
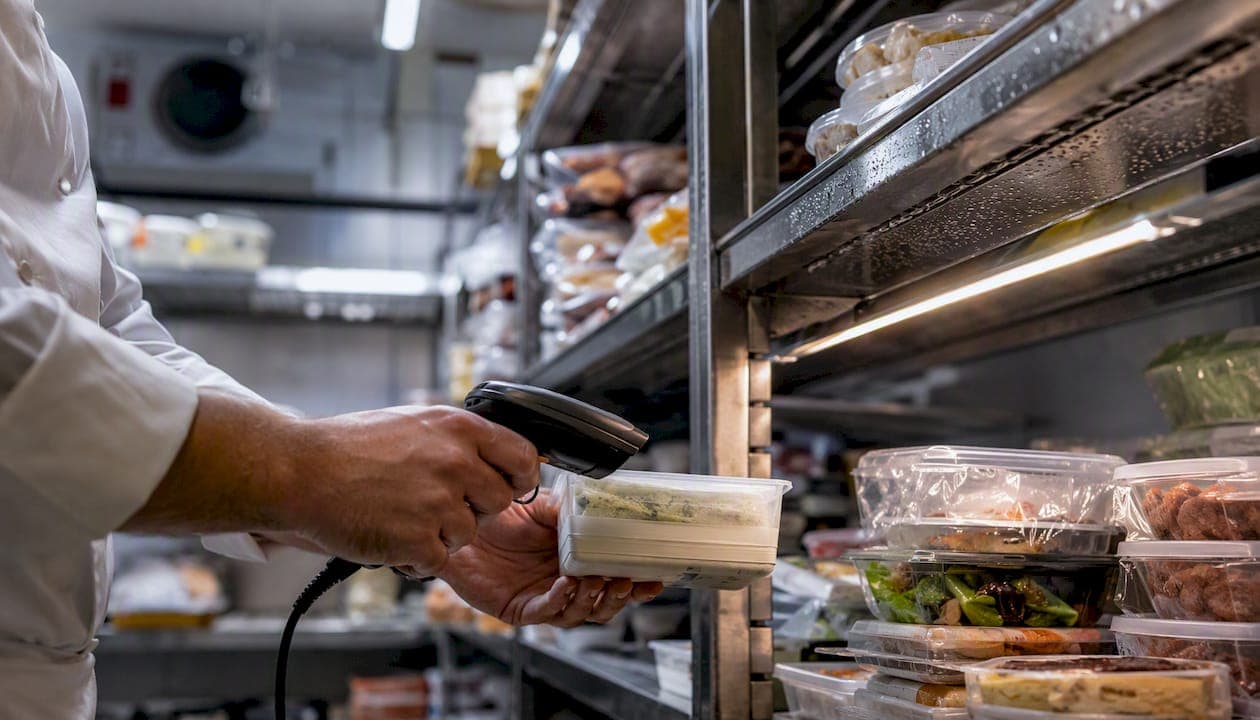
The fastest way to set up remote kitchen monitoring is to deploy a cloud-based hospitality inventory platform like PantryHub, connect it to your POS and suppliers, and run a short pilot before you trust it with real purchase orders. You do not need new hardware or a six-month IT project. You need clean data, a defined pilot scope, and two to four weeks of patience.
Three things to do this week, before anything else:
- Pick 25 high-value SKUs. Focus on proteins, alcohol, and the dry goods that move your food cost the most.
- Export 90 days of POS sales for those SKUs. This gives you real velocity data instead of guesses.
- Book a two-week pilot. Start a free trial or schedule a demo so you can test integrations before you commit a full menu.
That's the whole starting move. Everything below explains why it works and how to configure it properly.
Key Takeaways
A short pilot on high-value SKUs, clean 90-day sales data, and sequenced configuration are what make remote kitchen monitoring reliable before you automate full purchasing.
| Point | Details |
|---|---|
| Start small | Pilot 25 to 50 SKUs at one location before expanding to the full menu. |
| Clean data first | Export item master, supplier list, and 90-day POS sales before setup. |
| Configure in sequence | Set locations, items, recipes, pars, alerts, and roles in that order. |
| Test before automating | Verify POS depletion, PO submission, and invoice matching during the pilot. |
| Track a short KPI set | Watch variance %, PO accuracy, emergency orders, and ordering time. |
| Use a chef-built platform | PantryHub combines mobile counts, automated pars, and supplier ordering in one system, with a free trial to start the pilot. |
Table of Contents
- Why Remote Kitchen Monitoring Improves Operations and Margins
- Building a Pilot: Scope, Goals, and a Simple Template
- What to Prepare Before You Log In
- Configuring Locations, Items, Pars, and Alerts
- Connecting POS, Suppliers, and Accounting
- Running the Pilot and Rolling Out Safely
- Training Your Team Without Losing Their Buy-In
- Which KPIs Should You Track in the First 90 Days?
- What Does This Cost and How Long Until Go-Live?
- Why PantryHub Fits This Setup Process
- What Chefs Learn Running Their First Pilot
- Getting Set Up With PantryHub
- Sources
Why Remote Kitchen Monitoring Improves Operations and Margins
Remote monitoring cuts emergency buying and waste by giving you real-time visibility into stock levels and letting the system trigger orders automatically once inventory hits par. Instead of a manager physically walking the cooler to guess what's low, the platform already knows, and it can raise a purchase order before your Friday rush turns into a scramble for someone to drive to a wholesaler.
Vendor-reported case data shows automated ordering triggered by par levels can cut manual ordering time by up to 50% while reducing overstock and emergency purchases. That's a meaningful chunk of a manager's week back, and it's time that goes toward service, not spreadsheets.
The direct benefits stack up fast once you're tracking stock in real time:
- Fewer emergency orders. Automated par triggers catch shortages days before they become a crisis.
- Faster receiving. Staff check deliveries against the original purchase order on a tablet, not a clipboard.
- Better supplier negotiation. Consistent order history and volume data give you leverage on pricing.
- Tighter food cost control. Real-time variance reporting flags where product is walking out the back door versus getting sold.
Building a Pilot: Scope, Goals, and a Simple Template
Start with a limited-scope pilot: one location, 25 to 50 SKUs, and a two-to-four-week window before you touch your full menu. Trying to digitize every walk-in item and every supplier relationship on day one is how these projects stall. Chefs who read our guide on digital stocktake tools know the smaller scope, the faster the team trusts the numbers.
Before you touch the software, settle these decisions:
- Who owns purchase order creation? (Usually the head chef or kitchen manager.)
- Who approves POs above a certain dollar threshold?
- Which two or three suppliers go into the pilot first? (Start with your highest-volume vendor.)
- Who's responsible for daily counts on A-items during the pilot?
A workable pilot template looks like this:
- Scope: one venue, top 25 to 50 SKUs by cost.
- Metrics: inventory variance percentage, PO accuracy, and time saved on ordering per week.
- Timeline: two to four weeks, with a checkpoint at the halfway mark to review early variance data.
What to Prepare Before You Log In
Before setup, export and clean three things: your item master, your supplier list, and 90 days of POS sales for the items you're piloting. This is the unglamorous part, but it's what separates a smooth two-week rollout from a frustrating month of fixing bad data after the fact. A pre-implementation audit checklist that covers POS API access, supplier EDI capability, and invoice formats will save you from surprises mid-setup.
Your item master export should include these columns:
| Column | Why it matters |
|---|---|
| SKU / item name | Unique identifier to prevent duplicate entries |
| Description | Matches what's on the shelf to what's on screen |
| Unit of measure | Prevents case-versus-each mismatches later |
| Pack size | Needed to calculate true cost per portion |
| Supplier SKU | Links your internal item to the supplier's catalog |
| Lead time | Drives accurate par and reorder calculations |
| Cost per unit | Feeds food cost and variance reporting |
| Storage location | Speeds up counts and receiving |
Pro Tip: If you don't have 90 days of clean sales history, set conservative initial par levels using a simple formula: average daily usage multiplied by lead time, plus a small safety buffer. Tighten it once real velocity data comes in during the pilot.
Configuring Locations, Items, Pars, and Alerts
Configure your system in a defined sequence: locations first, then the item master, then recipe links, then par formulas, then alert thresholds, then user roles. Skipping steps or doing them out of order is the single biggest reason pilots run long.
- Create your locations in the platform, even if you're starting with one venue.
- Import your cleaned item master so every SKU has a home.
- Map recipes and portion weights to the items so depletion tracks accurately when a dish sells.
- Set par and reorder points using your 90-day sales velocity plus supplier lead time.
- Configure reorder rules and an approval workflow so POs route to the right person before they're sent.
- Set low-stock and critical alerts so managers get a notification before, not after, you run out.
Watch for these common setup mistakes, since they're the ones that derail an otherwise clean pilot:
- Unit-of-measure mismatches (ordering by the case when the recipe depletes by the each).
- Duplicate SKUs created because an item was imported twice under slightly different names.
- Incorrect pack-size assumptions that throw off cost-per-portion math.
- Wrong recipe yields that make depletion numbers drift from actual usage.
If you're working with a designer or trainer on this rollout, ask for annotated screenshots of the location setup screen, the par configuration panel, and the alert threshold settings. Visual walkthroughs cut training time dramatically compared to text instructions alone.
Connecting POS, Suppliers, and Accounting
Integrate your POS for automatic depletion, your suppliers for automated purchase orders and invoice matching, and your accounting software for cost reconciliation. These three connections are what turn a digital stocktake tool into genuine remote monitoring.
The integrations worth prioritizing:
- POS API or scheduled export, so sales automatically deplete inventory in real time.
- Supplier EDI or API connection, enabling automated PO submission instead of manual emailing.
- OCR pipeline for PDF invoices, when a supplier can't offer a direct feed.
- Accounting export, so food cost and variance data flow into your books without double entry.
When you're testing each connection, work through this checklist before trusting it with live orders:
- Run sample transactions through the POS feed and confirm depletion matches actual sales.
- Verify every SKU mapping between your item master and the supplier's catalog.
- Submit a test PO and confirm the supplier receives and processes it correctly.
- Check invoice matching against a known delivery to confirm discrepancies get flagged.
Sample verification protocols recommend confirming POS depletion accuracy within a very close margin during test runs, with alerts arriving within minutes of a threshold breach. If your POS doesn't offer item-level API access, a scheduled export to SFTP or a temporary manual depletion workflow can bridge the gap during the pilot.
Running the Pilot and Rolling Out Safely
Run your pilot for two to four weeks, reconcile theoretical counts against actual counts daily on your A-items, and adjust par levels before you turn on full PO automation. Skipping this step is how operators end up with a system that technically works but nobody trusts, because it ordered wrong once during week one.
Your pilot checklist should include:
- Daily physical counts on A-items (high-cost proteins, alcohol).
- Receiving validation against the original PO for every delivery.
- Dry-run test POs sent to your primary supplier before going live.
- Invoice matching checks against at least two real deliveries.
A basic reconciliation table helps surface problems fast:
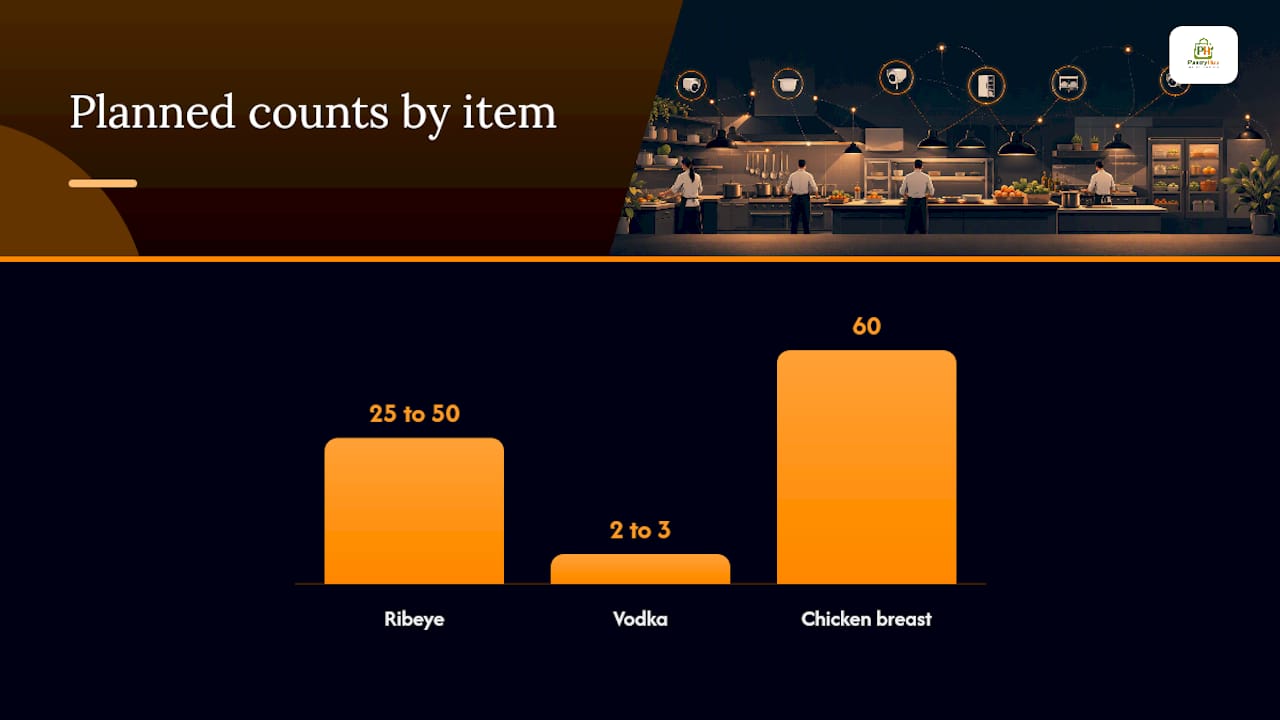
| Item | Theoretical count | Actual count | Variance % | Action |
|---|---|---|---|---|
| Ribeye | 25 to 50 | 25 to 50 | Inventory variance percentage | Investigate portioning or theft |
| Vodka | 2 to 3 | 2 to 3 | 0% | No action |
| Chicken breast | 60 | 25 to 50 | Inventory variance percentage | Recheck recipe yield mapping |
Pro Tip: Adoption problems surface fastest when a manager compares who's logging counts consistently versus who's skipping the app and eyeballing shelves. Catch that in week one, not week four.
A documented multi-venue rollout case unified POS feeds, deployed mobile counts, and automated supplier orders in a four-to-six-week phased timeline, with pilot-driven checks before full automation went live.
Training Your Team Without Losing Their Buy-In
Short, role-specific training paired with simple SOPs drives adoption more than any feature in the software itself. If a line cook needs ten minutes to log a delivery, they'll stop doing it within a week.
Structure your SOPs by cadence:
- Daily: count high-value items, receive deliveries against the PO, log waste on the spot.
- Weekly: review the variance report as a team, not just management.
- Monthly: revisit par levels and check supplier fulfillment performance.
A 30 to 60 minute training session works for most kitchens. Cover the mobile app basics, walk through one full count together, and show exactly how to log a delivery. Mobile counting alone can cut counting time by 30 to 50% once staff are comfortable with it, which is the single fastest win to point to when the team asks "why are we changing this?"
Keep friction low: waste logging should take under 10 seconds with short reason codes like "spoilage" or "staff meal," and place the counting tablet right at the receiving door, not in a back office nobody visits. For more on getting staff roles right, see our breakdown of team management in kitchen software.
Which KPIs Should You Track in the First 90 Days?
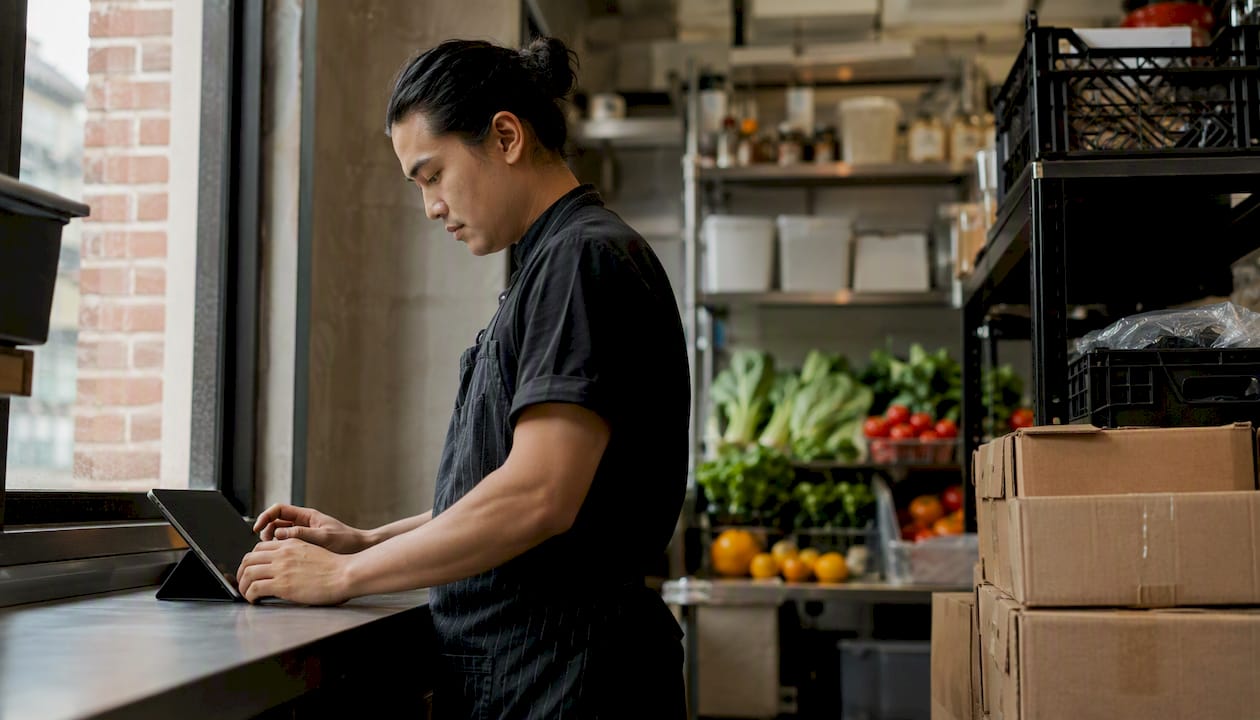
Track a short KPI set that maps directly to money saved and time reduced: inventory variance percentage, PO accuracy, emergency order count, and time spent ordering per week. Don't drown your team in twenty dashboard tiles during a pilot. Five numbers, watched consistently, beat twenty numbers nobody checks.
The KPIs worth watching from day one:
- Inventory variance % on your A-item list.
- On-time supplier fulfillment % for your top two vendors.
- Emergency or expedite orders per month (this should trend toward zero).
- Time to receive and process a purchase order.
- Food cost % as a lagging confirmation that the other numbers are working.
Set your alert thresholds conservatively at first. Focus manager attention on real problems by flagging invoice discrepancies above a set threshold, such as $5 per line item or 3% of line value, rather than every minor rounding difference. For a broader look at what digital tracking delivers over time, our piece on digital stock management benefits covers the longer-term picture.
What Does This Cost and How Long Until Go-Live?
Expect two to six weeks to go live for a single-venue pilot, with cost depending on your subscription tier, integration complexity, and how many staff hours go into training. That's a realistic window, not a marketing promise.
A typical timeline looks like:
- Week 0: data prep, item master cleanup, supplier list finalized.
- Week 1: import and mapping, recipe links built.
- Week 2: pilot begins on your 25 to 50 SKU list.
- Weeks 3 to 4: iterate on pars, expand toward the full menu.
- Weeks 4 to 6: full rollout across locations.
Budget for these cost factors:
- Subscription fee per location.
- Integration setup, if a custom bridge is needed for a legacy POS.
- Staff training hours.
- Optional EDI setup for automated supplier ordering at scale.
A phased approach covering item master setup, recipe mapping, and staff training typically runs four to six weeks for most independent operators, with ROI improving steadily after that calibration period.
Why PantryHub Fits This Setup Process
PantryHub bundles the item master, mobile counting, POS integrations, automated purchase orders, and supplier connections into one hospitality-focused platform built by chefs, not generic ERP developers. Every step outlined above maps directly to a feature you'd otherwise stitch together from three or four separate tools.
| Setup task | PantryHub capability |
|---|---|
| Location and item setup | Multi-location item master with bulk import |
| Daily and weekly counts | Mobile app for iPhone and Android |
| Par and reorder automation | Automated low-stock alerts and reorder triggers |
| Supplier ordering | Direct supplier integration and PO automation |
| Variance tracking | Real-time waste and cost reporting dashboards |
Because the platform was built by chefs for chefs, the workflows match how a working kitchen actually operates: quick counts, simple receiving checks, and alerts that don't bury managers in noise. If you're still deciding whether your kitchen is ready, our checklist on signs your kitchen needs inventory software is a fast gut check.
What Chefs Learn Running Their First Pilot
Kitchens that run a tight two-week pilot on their highest-value items almost always report the same early win: the panic-buy runs stop first, before the food cost percentage even moves. That's usually the first signal management notices, because it's the manager who used to make that emergency store run at 4 PM on a Saturday.
A few things make the difference between a pilot that sticks and one that fizzles:
- Keep counts short. If a count takes longer than the old clipboard method, staff will quietly abandon it.
- Reward accurate logging publicly. A team that sees management actually look at the variance report will keep filling it in honestly.
- Set alert thresholds that avoid noise. A kitchen buried in false alarms tunes them out within a week.
None of this works without visible management support during the first month. Staff read the room fast. If the manager treats the new counts as optional, so will everyone else. The built-by-chefs positioning matters here too. Tools designed by people who've actually run a pass on a Friday night tend to ask for less friction than software built by people who've never worked a line.
Getting Set Up With PantryHub
PantryHub is built specifically for the pilot-first approach outlined above, with a mobile app for iPhone and Android, direct supplier ordering, and transparent pricing starting from a straightforward monthly rate rather than a locked-in annual contract. If you're currently comparing it against tools like MarketMan or Lightspeed Inventory, our MarketMan alternative page breaks down where PantryHub's chef-built approach differs.
You don't have to build this pilot alone. A free trial gets your item master and supplier list into the system fast, and a short setup consultation can help you scope your first 25 SKUs correctly the first time. Start a free trial or book a demo this week and have your pilot running inside two weeks.
Sources
- Vet Restaurant Inventory Automation Before You Buy | US Tech Automations
- How to Manage Restaurant Inventory Without Spreadsheets | Deelo Blog
- Master Guide to Restaurant Inventory Management Software in 2026 | GOIS