
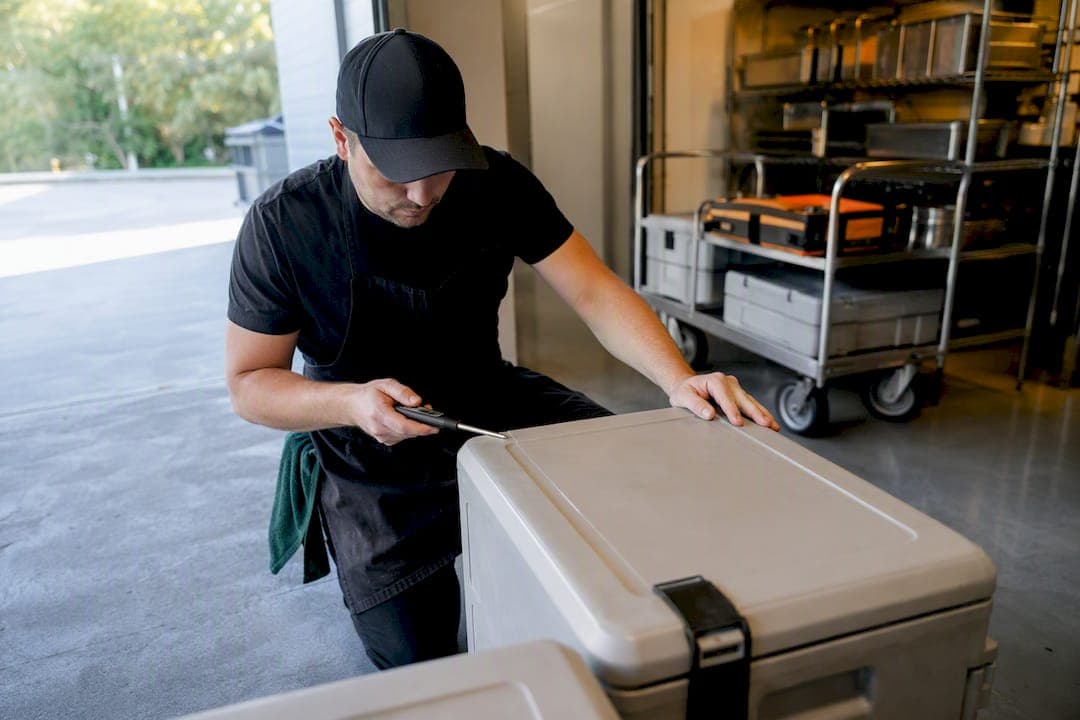
A receiving checklist exists to stop unsafe or substandard goods from ever reaching your kitchen line. The single most critical step is temperature verification, done and documented before you sign anything. Check the thermometer first, record the result, then decide to accept or reject. The ready-to-use checklist below gives you the exact order to work through at the door.
TL;DR:
- Temperature verification must be precise, with refrigerated items at or below 5°C, frozen goods without thawing signs, and hot food above 57°C before acceptance.
- Reject items immediately if temperature readings are above standard thresholds, packaging is damaged, or documentation does not match purchase orders.
- Consistent use of a designated trained receiver, scheduled deliveries during quiet hours, and quick handling of rejected items build a reliable receiving habit.
- Maintaining detailed records of deliveries, non-conformities, and calibration logs simplifies disputes and supports quick supplier credit approval.
- Digital workflows with timestamped temperature logs and photo evidence improve accuracy and accountability over traditional paper checklists.
Table of Contents
- Receiving Checklist Restaurant Teams Can Use at the Door
- Why Each Receiving Check Matters (and How to Do It Right)
- How to Turn the Checklist Into a Habit
- Records and Non-Conformity Forms Worth Keeping
- Paper, Mobile Forms, or Digital: Which Receiving Setup Fits You?
- What Actually Keeps Receiving Consistent Day to Day
- Where PantryHub Fits Once You're Ready to Go Digital
- Where to Go for Official Guidance and Templates
- Sources
Receiving Checklist Restaurant Teams Can Use at the Door
Print this and clip it to a board near the loading dock. Work top to bottom, and stop the moment you hit a reject trigger.
- Delivery details: confirm supplier name, invoice number, and delivery time against your purchase order.
- Vehicle check: refrigerated trucks running, no strong odors, raw and ready-to-eat items separated.
- Temperature check: refrigerated items at or below 5°C, frozen goods solid with no signs of thawing, hot food at or above 57°C.
- Packaging: no tears, leaks, swelling, or crushed boxes.
- Dates and codes: use-by dates current, lot codes legible and matched to the invoice.
- Quantity match: count against the order, not just the packing slip.
- Accept or reject: mark each line item, note the reason for any rejection, and take a photo before the item leaves the dock.
- Signature: the receiver signs and dates the form, every delivery, no exceptions.
Why Each Receiving Check Matters (and How to Do It Right)
A checklist only works if the person holding it knows what "pass" actually looks like. Here's the reasoning behind each step, in the order you'll typically work them.
-
Vehicle and driver inspection. Look inside before a single box comes off the truck. Raw meat sitting against fresh produce, a refrigerated unit that isn't running, or a driver who can't produce an invoice are all immediate red flags. Reject the load, or at minimum the affected items, on the spot.
-
Temperature verification. This is where most receiving failures happen, and it's the one check regulators care about most. Use a calibrated probe thermometer inserted into the thickest part of the product, not the packaging surface, following best practices for transporting frozen food whilst moving. Refrigerated goods need to read at or below 5°C, frozen goods should be rock solid with zero ice crystals suggesting a thaw and refreeze, and hot deli items must hold at 57°C or above. Shellfish gets a slightly different rule: it can arrive as warm as 7°C, but only if it will be cooled to 5°C within four hours, according to industry receiving procedures. Any refrigerated item that comes in warmer than that threshold gets rejected, no negotiation.
-
Packaging and product quality. Check for punctures, moisture stains on boxes, swollen cans, or bruised produce. Trust your nose here too: off odors on seafood or dairy are a faster tell than any visual check.
-
Documentation and invoice matching. Cross-check every line item against the purchase order before the driver leaves. Short shipments need a note on the invoice; overages need a decision on whether you're keeping or returning the extra stock.
-
Dates and traceability. Confirm use-by dates and lot codes match what's on the invoice, and hang onto shellstock tags where they apply.
-
Immediate storage. Perishables should be in the walk-in or freezer within 15 to 20 minutes of arrival. Label everything with a FIFO date the moment it hits the shelf.
Quick reference: ≤5°C refrigerated, ≥57°C hot, frozen solid with no thaw signs. These three numbers cover the majority of your reject decisions.
How to Turn the Checklist Into a Habit
A checklist on a clipboard doesn't stop a bad delivery. A trained person who uses it every single time does. Build the habit with a few simple structural decisions.
- Name one authorized receiver per shift who has final say on accepting or rejecting goods.
- Schedule deliveries for quiet windows, mornings before service ramps up, so nobody rushes the inspection to answer a ticket.
- Run five-minute mock deliveries during onboarding: hand a new hire a thermometer and a box of frozen product and watch them work the checklist.
- Build a rejection workflow now, before you need it: segregate the item immediately, complete a non-conformity form, photograph the issue, and call the supplier before the driver leaves your lot.
Pro Tip: Keep a spare calibrated thermometer at the receiving station. A dead battery mid delivery is how "we'll check it later" turns into product sitting on the loading dock for 40 minutes.
Records and Non-Conformity Forms Worth Keeping
Every delivery needs a paper or digital trail that answers one question: can you prove what happened if a supplier disputes a credit, or a health inspector asks? Keep it simple and consistent.
- Delivery record: date, time, supplier, driver name, items received, temperatures logged, receiver's name, and accept/reject reason.
- Non-conformity form: SKU affected, the specific issue observed, a photo, quantity affected, the action taken, and the supplier's contact details tied to the invoice number.
- Calibration log: date and result of each thermometer calibration check.
- Temperature chart: displayed at the receiving station, not filed away, so staff have a constant visual reference.
Linking these records to your inventory system turns a paper trail into leverage: a well-documented non-conformity form is what gets a supplier credit approved in a day instead of a week, and it's the same record-keeping discipline auditors look for first.
Paper, Mobile Forms, or Digital: Which Receiving Setup Fits You?
A laminated paper checklist works fine for a single site with a stable supplier list and a manager who reviews forms daily. It's cheap, fast, and nobody needs training on an app.
The cracks show up as you scale. Paper forms get lost, handwriting gets misread during a dispute, and there's no timestamp proving when a temperature was actually taken.
- Paper works well when: you run one location, disputes are rare, and reviews happen daily.
- Digital earns its cost when: you run multiple sites, argue with suppliers more than once a month, or face regular health audits.
- Look for these digital features: forced photo capture on any rejection, automatic time stamps on temperature entries, a supplier communication log, and a direct link into your inventory and ordering system.
A dry goods management checklist built for digital use tends to close the gap between what your paperwork says happened and what actually happened on the dock.
What Actually Keeps Receiving Consistent Day to Day
The kitchens that never argue with suppliers over quality all do three boring things well: a temperature chart stays visible at the dock, one named person owns the reject decision each shift, and a rejected item gets photographed before it's touched again. None of that is clever. It's just repeated until nobody skips it. Pick a checklist short enough to finish in under ten minutes, then drill it until it's muscle memory, not paperwork.
— Admin
Where PantryHub Fits Once You're Ready to Go Digital
Paper checklists get you compliant. A digital workflow gets you a searchable, timestamped, photo-backed record every supplier dispute actually needs. A digital workflow adds photo evidence on rejections, time-stamped temperature logs, and supplier communication tied directly to the delivery record.
It's the strongest fit for multi-site groups and any kitchen that's tired of chasing suppliers for credit on last week's short shipment. Received stock flows straight into your inventory counts, so a rejected case of chicken doesn't sit in your system as phantom stock. If you're weighing whether digital receiving is worth the switch, trial a platform and confirm it handles timestamped temperatures and photo attachments before you commit. Check out PantryHub's inventory software to see how receiving connects to the rest of your stock control.
Where to Go for Official Guidance and Templates
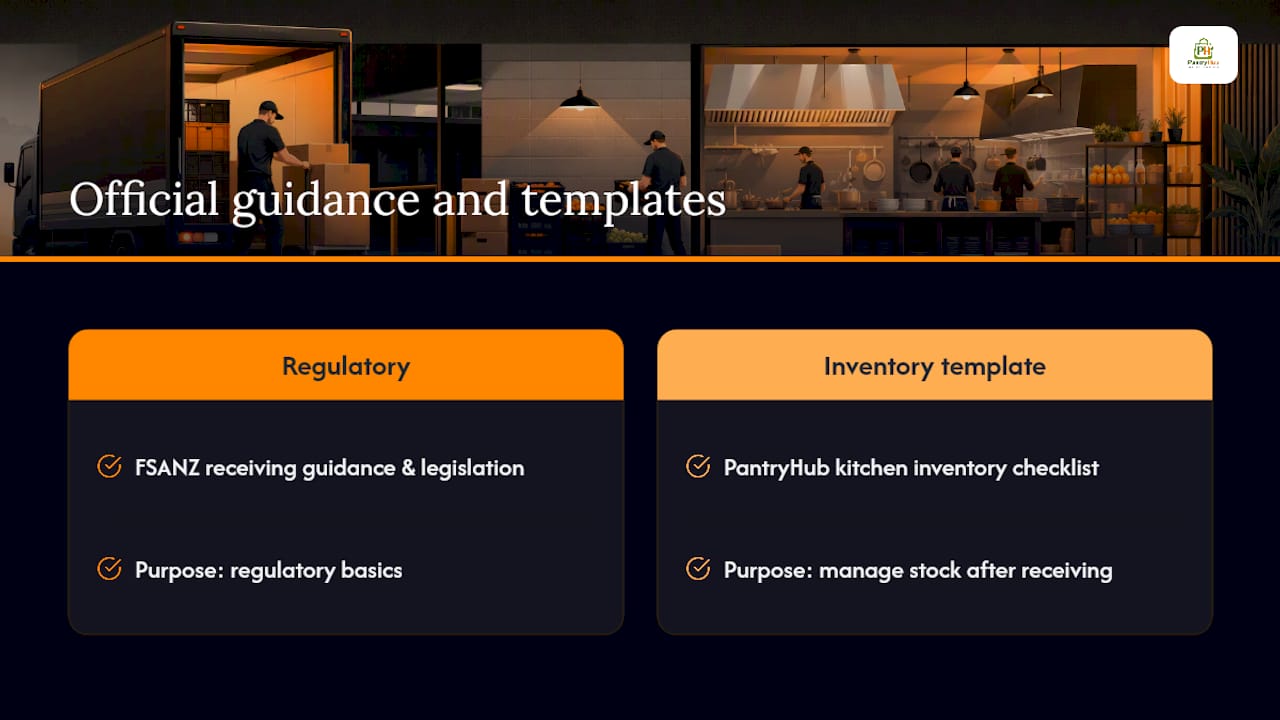
For the regulatory basics, start with Food Standards Australia New Zealand's receiving guidance and the underlying legislation. For managing the stock once it's through the door, PantryHub's kitchen inventory checklist template picks up right where receiving leaves off.
Sources
- Receiving food — Food Standards Australia New Zealand
- Food receiving procedures — WebstaurantStore article
- The hotel & restaurant receiving process — The Hotel Blueprint